Sunday, February 27, 2011

Mulberry jam anyone?

Sorry for only posting now, but with the hectic job of settling into  a new town and country again, mulberry Season came and went in November!
The mulberry trees produced an enormous crop, as is usual, and what else was there to do with so many mulberries, but to make yummy jam!

 Jam making has been a bit of a learning curve for me, with much frustration, primarily in trying to achieve the setting point without burning or caramelizing the jam. But practice makes perfect. Correct? Well so the experts say....

 The tree we have in our yard is probably the Morus Alba, although it is hard to tell as I haven't seen the blooms yet. Will keep you posted! 
Above: The front view of the leaf - Smooth and the margins have rounded little 'bumps' rather than very pointed/serrated ones of the Morus Nigra.
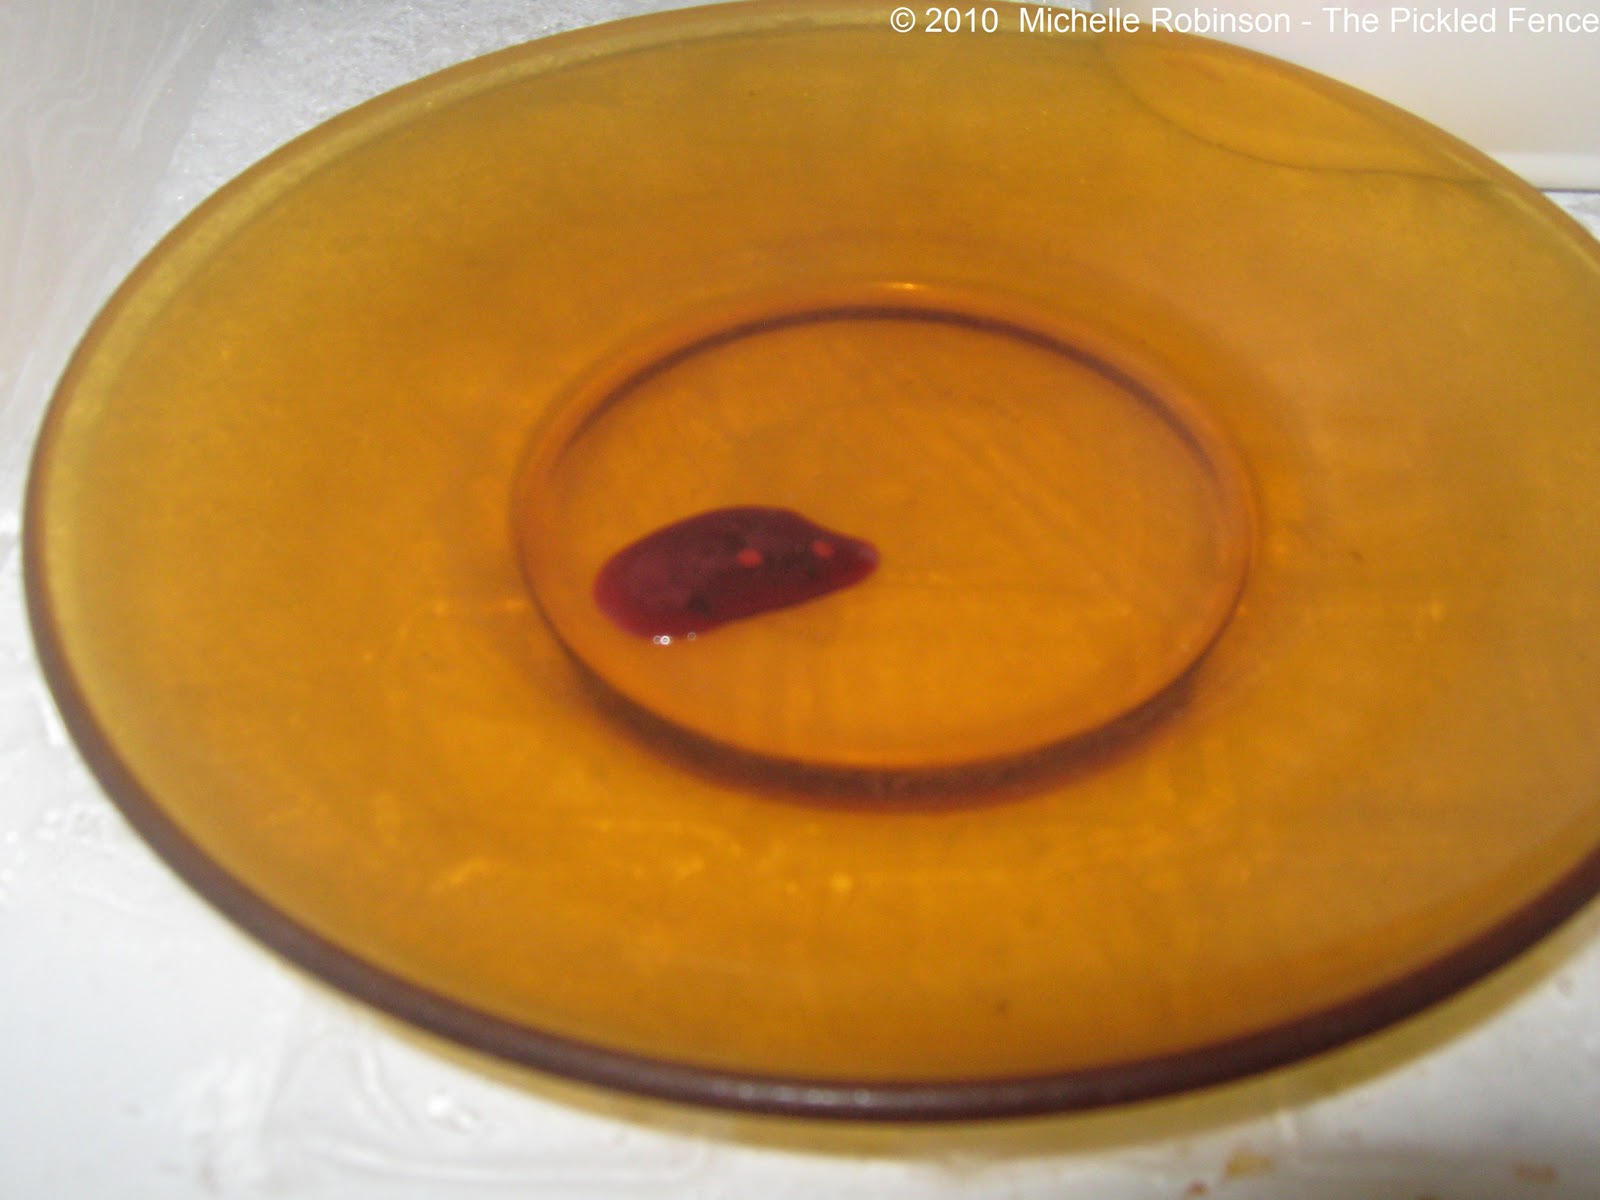
Below:  The back view of the leaf - slightly lighter and the veins quite prominent. Heart shaped.

I found a site that may solve some of the confusion with identifying the different species of Mulberry trees.
It is still as"thick as mud" to me, but hopefully It will eventually become clearer ones the blooms and buds arrive!

My son sneaking some mulberries.
The crop yield is very high, so we have had mulberries coming out of our ears!
A tip for picking: Lay a plastic sheet under the tree if the branches are not too low, and with a good shake you  can harvest quite a few.
Alternatively, it you have to hand pick, cut the stems off at the very tip of the fruit, thereby saving you the VERY tedious job of picking the stems off later.
If you pick too much, you may end up with a batch that goes moldy and has to be tossed into the bin! So pick only what you will need immediately.

The first job after picking bucket loads of the purpley and very messy fruits, is to wash them.
Make sure you protect your clothes as they stain!
This should remove any 'creepy crawlies' which may have inadvertently crept into your bucket.
I prefer to give them 3 washes. Do not soak them as this will draw in water and they will lose their flavour.
Rather pick and wash small batches at a time.
If you haven't already de-stalked them while picking the mulberries, do this now.

The next step is to prepare the homemade lemon and apple pectin, which aids with the 'setting' or 'jellying' of the jam. (Instructions can be found here.)
Now measure out no more than 6 cups of mulberries and 5 cups of sugar and set them both aside for later. (For a no-sugar recipe, replace the sugar with 3 cups of honey and 2 cups of grape juice.)
Cooking batches bigger than this does not allow for even heat distribution and can cause the jam not to 'set', and instead you will end up with something that closely resembles nice mulberry syrup!

Pour the mulberries into a large pot, with enough room so that it does not boil over, and very lightly mash them. This will release some of the natural pectin. Don't overdo it, as many people like whole fruit in their jams.
 Keep on medium heat until the mulberries are soft and then pour in the pectin (amount depends on the pectin test, details which are found here.)  Once the pectin level is correct, add the sugar and stir it in until dissolved. Now Stir in gently and increase the heat to medium high. Now bring the mixture to a fast 'rolling boil' (a boil that isn't disturbed when stirring, but try NOT to stir now), until setting point of 220c has been reached. (This is the setting point at sea-level, therefore at higher altitudes, the setting point will be slightly lower.)
Use a cooking thermometer if necessary. Some stoves battle to reach this point. A gas stove top would be the best as it reaches high heats fairly quickly.

Alternatively, you can used the saucer method below:
Place a glass saucer in the freezer and once the mulberries have been on a rolling boil for a few minutes, take a teaspoon of the mixture and place on the ice-cold saucer. Put this in the freezer for about 3 minutes. Then test by running your finger across the jam. It should resist and 'fold' rather than just let your finger run through it smoothly. If not set, continue on a rolling boil for another 5 minutes or until you feel it has set and try the method again. It may be a good idea to have a few saucers ready in the freezer.
Another method , also very similar though, is to use a glass of ice water and leave a teaspoon in it. Dip it into the mixture. If it gels or sets on the spoon after a minute, the jam has set.

Make sure that your clean jam bottles are sterilized, preferably first in the dishwasher and then in the oven, and 'bake' on high for about 5 minutes prior to filling. Once the jam has set, with forceps (to protect your hands from the high heat and hot jam),  remove a bottle from the oven and place near pot. Using a wide metal funnel, now pour the jam mixture into the bottle. Be sure to only fill to just over 3/4. The remainder of the jar, fill up just with  'syryp', therefore preventing it from being 'dry' by having too much fruit and not enough syrup.
ps: excess syrup can be used as a delicious desert topping. My cousin reckons I can make a killing on selling just the syrup on its own, it so yummy on ice-cream!

Fresh mulberries with mulberry syrup on ice cream.
Once completely filled to the brim, (which prevents air bubbles forming), close the jam jar with the now sterilized lid as tightly as possible, using an oven glove to protect you from the heat. Now place the jar upside down in an ice 'bath' which you need to have prepared before hand. This extreme temperature difference will ensure that the lids 'suction' feature comes into effect to effectively seal the jar.
Ensure that only high quality glass which is able to handle such extremes, is used.
Locally, the 'Consol' range of glass jars is really nice, but cheaper jam jars with rubber seal lids, are just as effective.

Voila, ready to be labelled and stored!

Tuesday, November 23, 2010

Every family needs an organic vegetable garden!

Having recently moved into the new property we have now decided that we need to establish our own vegetable patch so that we can feed the family organic home-grown produce.
From the veggie-patch straight to the kitchen table!
This is the BEFORE photo.
The area we chose is quite near the kitchen, so we thought it would be a good spot for a veggie garden, as it is fairly sheltered from the wind and the extreme Karoo summer heat.
(Notice the thick layer of 'hen-and-chicken', other wise known as the indigenous 'spider plant', (Chlorophytum comosum) which had overgrown this area. 
These had to be dug out as they have numerous bulbs which if left in the ground, just begin growing again.) And these little guys can take over your garden if you are not carefull!


With great excitement,  we started by clearing the designated area of weeds, and the 'hen and chicken' plants ...not an easy task, but hubby excelled at the job!
AFTER photo!
Finally, 'hen and chicken' out! The next project was to erect a type of "square foot garden".
Hubby came up with the genius and cost effective idea of making a fence and trellising from the local reeds, and so daily excursions to the river bank ensued, until sufficient reed was collected.
The kids where reluctantly 'volunteered' to help with the stripping and cleaning of the reeds......!

 Voila!  We put reed trellising at the back for the climbers such as tomatoes, beans etc, and finally the bricks where laid in between the squares, as easy pathways to make the watering and weeding easier .
We where given a whole lot of onion plantlings, and so they where planted behind each patch, as a starter for our vegetable garden.


A reed fence has been erected to keep 'Daisy' the dog out. The first young plants have been planted, and some seedling have been sown directly into the soil.  Our idea was to have different patches/squares for different purposes:  a 'veggie' patch, a 'herb/medicine' patch and a 'salad' patch.
 
Salad patch....except the spinach!

Note the apricot pips in amongst the home made compost? Montagu is 'apricot country' in the Cape!
And 101 uses for plastic cable-ties.......Hubby Macgyvers idea.

    
After a few weeks the patches have started resembling a 'real' vegetable garden. Almost ready for the picking! Soon it will be time to harvest our first crop.

Below:  'Daisy', our Africanis dog inspects the veggie patch. (So what was the purpose of the fence?)


We have planted Marigolds (Tagetes) and Nasturtiums (Tropaeolum) around the edges of the squares, as these are good companion plants and they also aid in keeping the bugs and 'goggas' away from the growing vegetables.
(For this seasons planting, we have not stuck to the 3-patch 'plan', as not all seedlings where available.)

Finally, the veggies are nearing harvest-ready. In this patch, we now have:  lettuce, cauliflower, spinach, basil, tomato and chili. The other patches have various herbs, broccoli, zuchini/courgettes, pumpkin, cocktail tomatoes, and of course Leopard tortoise.
And look who has moved in! The resident wild tortoise...he seems to have decided that the vegetable patch is his new 'built-in kitchen'.
And finally, our first 'home grown salad' .
Now THAT is rewarding:  knowing that it has been grown in your own back yard, and with no chemical pesticides!

Thursday, November 18, 2010

No water and another tortoise!

This morning we where greeted with the prospect of having no water in Montagu, so I had to quickly water the vegetable garden with the little that was left in the pipes.


Thankfully we have the swimming pool water as a backup for the families ablutions!
This morning the neighbour arrived at our doorstep with a flailing tortoise in his hand. Quite a fiesty little fellow!
Tortoises in this area (The Klein Karoo) are very common and it is said to be the highest concentration of tortoises in the world.  Due to the fact that our town is an enclave in what is best described as a 'mountain-bowl', many gardens have become homes to them as they tend to venture down the mountains from October onwards in search of gorgeous mates.


This little chap is a Bowsprit male tortoise, otherwise known as an Angulate tortoise, and we have decided to  return him to where he originally came from.
We still have the resident Leopard or mountain tortoise, who had been hit by a car locally, but he seems to be happy, the property is large enough and it is his natural habitat.

Ps: The main diet of tortoises in South Africa is grass (70%) and weeds, and NOT lettuce!
The rest of the day I spent laying of the garden sprinkler piping system, which will help us to keep the flowers-beds and roses regularly watered.
The temperatures in Montagu can soar to 43 degrees Celsius (109.4 degrees fahrenheit) on a really good summers day!
PS: The water was finally re-connected to the town late this afternoon.
Bath time for all!


Wednesday, November 17, 2010

So where do we start? Our story.....

Welcome to our new blog and you may ask why the blog is called 'The pickled Fence"?

Well, I pondered over the photo I had chosen for this blog, (which I had taken of the fence at the 'De Bos' rock climbing facility just a few hundred metres from our home,) and remembered my childhood dream to one day have a quaint home with a little 'picket fence' , and it all started there...!

Hubby is on mission to grow our own organic/heirloom seed crops, but also to pot, preserve and pickle the produce, so that we can truly be a self-sustained family unit.  I considered variations on the 'Fence' theme such as the 'Preserved Fence', the 'Potted Fence', but somehow they just don't have the right 'ring' about them? Anyhow, I finally chose the name "The Pickled Fence" with great fanfare.....!

I have started this blog with a little trepidation, as I dont really feel qualified enough to put our self-sustainable living and organic life thoughts and aspirations to 'computer-pen'. But I suppose it is best to start something which is not 'perfect' rather than do nothing at all and never progress and learn!
The aim of the blog is to journal our journey of learning and growth, so here goes:


Well, hubby and I and our two children, aged 12 and 10, have lived in Wellington New Zealand for over two years. Thanks to the worldwide recession, we have found ourselves back on African soil! Nevertheless,  our New Zealand experience inspired us to work towards a more 'organic' life-style. While in New Zealand, we endeavoured to start an organic-style and self-sustainable eco-village training facility which would teach all the necessary skills and trades required to make such a venture successful, and even formed a facebook group to start it. We hope to pick up where we left off....

Although we had initially left South Africa via Johannesburg, we now find ourselves in the very quaint Cape Klein-Karoo  village of Montagu,  which lies in the Breede River Valley on Route 62 - the Klein Karoo alternative to the Garden Route that stretches from Worcester to Oudtshoorn. Montagu received an award for the South African village of the year 2002-2004, so it is a real blessing to live here! It is indeed virtually impossible to look in any direction without a breathtaking view on these mountains.


You Enter Montagu through the spectacular rock formations of Cogman's Kloof and enjoy the little town with its well-preserved Cape Dutch architecture surrounded by orchards and vineyards against the backdrop of the Langeberg Mountain range.
The town is said to produce South Africa's best muscadel and boasts natural, healing hot springs.


The British Fort above Cogmanskloof entrance to Montagu- Anglo Boer war
  Among rock climbers, Montagu is known as the Cape's ‘mountain mecca' with its challenging cliff faces and is also famous for some of the most strenuous rock climbs available anywhere else in the world. Other adrenalin boosting activities on offer are 'kloofing', abseiling, mountain biking and paragliding or choose more relaxed tractor rides up the mountains or boat trips up the Breede River.
The town of Montagu is surrounded by the majestic Langeberg mountains.
Scenic walking trails are the now famous lover's walk, through the gorge leading from town, through the mountains to the hot water springs; up the Bloupunt mountain; through Cogmanskloof and the Aasvoƫlkrans hiking trail.

The guesthouses and B&B's comply with world class standards.


Upmarket restaurants make it worth while staying for a couple of nights in order to experience gourmet cuisine. Wine cellars, museums, nature and herb gardens, art cellars, craft shops, historical buildings and sport facilities make Montagu one of the most interesting places to visit.

We now live on a reasonably sized property with enough land for planting vegetables, but not too big to handle! The Montagu area is abundant with wildlife and you can find guinea-fowl, herons, Ibis, Hadeda, field-mice, Spotted Eagle-owls, tortoises, Harrier hawks, baboons, lizards, and of course dozens of snake species!


Well, now that you have an idea of where we are situated, and what the aim of this blog is, lets start the journey together, and hopefully this blog will serve as a learning tool or at least a just a little bit of inspiration and joy!
Related Posts Plugin for WordPress, Blogger...